
Modern networking makes sharing resources between devices easy. It’s key to find systems on your local network for smooth workflows.
Learning network discovery techniques is very helpful. It lets you access shared resources and boosts teamwork.
Today’s operating systems have tools to find connected devices easily. This guide shows you how to do it step by step on different platforms.
Knowing these methods helps you use your local network better. Setting it up right makes work more efficient and easy to share resources.
Understanding Network Fundamentals and Prerequisites
Before you try to find devices on your network, it’s key to know the basics. This knowledge is the first step to finding and talking to devices.
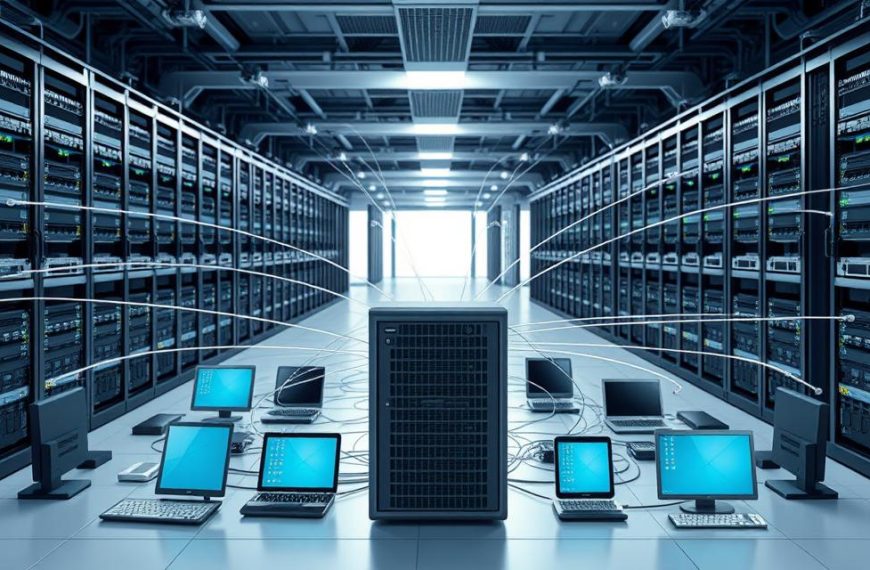
A computer network is a system where many devices connect to share things and info. They can do things like get on the internet, share files, and use printers on different machines.
There are many network types, each for different uses and sizes. The main ones are Local Area Networks, Wide Area Networks, and wireless ones.
Local Area Network (LAN)
A LAN connects devices in a small area, like a home, office, or building. It lets computers, printers, and other devices talk directly to each other.
Wide Area Network (WAN)
WANs cover big areas, linking many LANs across cities or countries. The biggest WAN is the internet itself.
Wireless Local Area Network (Wi-Fi)
Wi-Fi networks let devices connect wirelessly in a LAN. They don’t need cables but keep the network working and accessible.
To make a network work right, you need the right hardware parts. Knowing these parts helps fix problems when finding devices.
| Component | Primary Function | Connection Type |
|---|---|---|
| Modem | Converts signals between your network and internet service provider | Coaxial or DSL cable |
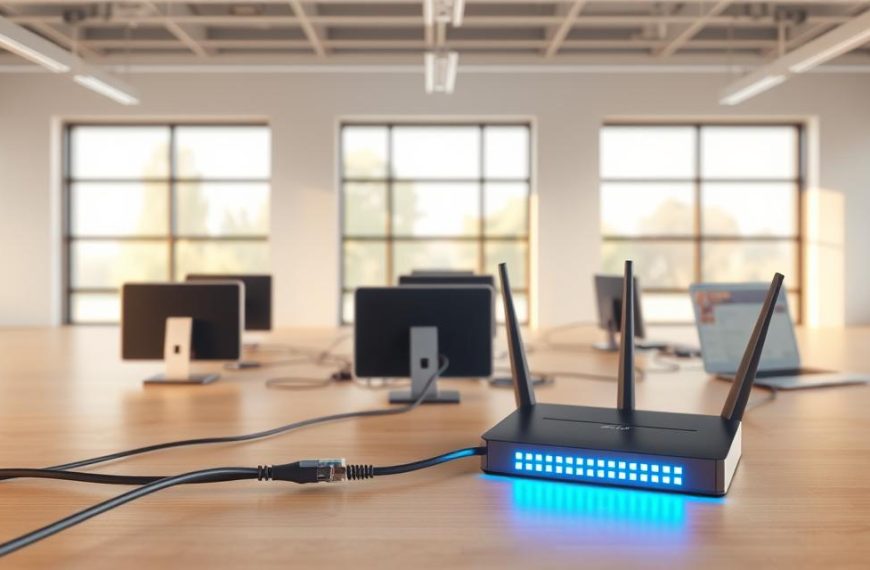
| Router | Directs traffic between devices and manages data packets | Ethernet or wireless |
| Switch | Connects multiple devices within a LAN | Ethernet cables |
| Access Points | Extends wireless network coverage | Wireless connectivity |
| Network Cables | Provides physical connections between devices | Ethernet or fibre optic |
These network components work together to help devices talk to each other. Each part has its own job to keep the network running smoothly.
Setting up these parts right is key for a network to work well. This is very important when you’re trying to find specific computers or devices on your network.
Essential Network Configuration and Permissions
Network discovery relies on setting up your system’s sharing settings and network profile correctly. Without the right setup, devices won’t show up, no matter how you try to find them.
Windows divides networks into two types: private and public. This choice affects how your computer talks to other devices on the network.

A private network is for trusted places like home or office. It lets devices find each other, share files, and access printers.
On the other hand, a public network is for untrusted connections, like coffee shop Wi-Fi. Windows limits discovery features here to keep your system safe from threats.
When you connect to a new network, Windows 11 starts in public mode for safety. You need to switch it to private to see other devices.
To change your network profile, go to Network & Internet settings. Then, click on Settings > Network & Internet > Wi-Fi/Ethernet > your connection name.
There, you can pick your network profile type. Choosing private turns on network discovery.
It’s also important to check your sharing settings. These settings decide if your computer shows up to others and if they can share resources with you.
Network discovery uses certain protocols and services. When turned on, your computer shows its presence and looks for other devices.
Firewall settings can also affect discovery. Windows Defender Firewall has rules that let or block discovery traffic based on your network type.
For the best results, make sure your firewall settings match your network type. Private networks usually allow discovery, while public ones block it.
| Feature | Private Network | Public Network |
|---|---|---|
| Device Discovery | Enabled | Disabled |
| File Sharing | Allowed | Blocked |
| Printer Access | Available | Restricted |
| Security Level | Standard | Enhanced |
Remember, these settings affect both finding and being found by others. Your ability to discover devices depends on theirs too.
Always think about security when changing network profiles. Only call a network private if you trust all devices on it.
Getting your network settings right is key to exploring networks well. The next parts will build on these important settings.
How Do I Find a Computer on My Network Using Windows Methods
Microsoft’s operating systems have built-in tools for finding computers on a network. Windows 10 and Windows 11 offer different methods for users of all skill levels. These include simple graphical tools and powerful command-line utilities.
Before you start, make sure your network discovery settings are right. This lets your system find other devices and be seen by them.
Step 1: Utilising File Explorer’s Network Section
File Explorer is the easiest way to see network devices. It’s simple to use and shows results quickly.
Open File Explorer from your taskbar or start menu. Look for the Network icon in the left pane. It looks like multiple computer monitors. Clicking this scans your network and shows devices.
Devices should show up quickly, sorted by type or workgroup. You can spot computers by their hostnames or descriptions. This method works well on both Windows 10 and Windows 11.
Step 2: Employing Command Prompt Utilities
Command Prompt is great for those who like typing commands. It gives detailed network info that graphical tools can’t.
Start by opening Command Prompt as an admin. Type ipconfig to see your network settings. Note your IPv4 address and default gateway for network insight.
To find other devices, use arp -a. This shows devices that have talked to your computer. For live checks, try ping with an IP address range to find active hosts.
Step 3: Using PowerShell for Advanced Discovery
PowerShell is the most advanced tool for finding devices. It’s perfect for users and admins who need detailed network analysis and automation.
Open Windows PowerShell as an admin. The Test-NetConnection cmdlet checks if you can connect to devices and gives detailed results.
For finding many devices, PowerShell scripts are great. They can list active devices, their operating systems, and more. This is very useful for network admins managing many Windows systems.
Keep in mind, advanced commands need the right permissions. Always check you have the right to scan networks, specially in work settings.
Network Discovery Techniques for macOS Systems
Apple’s macOS has strong tools for finding networks, just like Windows. While Windows uses Homegroup, macOS has its own ways. These are great for when you need to find devices on different networks.
Step 1: Navigating Finder’s Network Interface
Finder is your main tool for finding networks on a Mac. It finds devices that share resources using Bonjour. Just open Finder and click “Network” in the sidebar.
In the Network section, you’ll see devices that share files or services. You can see computers, printers, and more. Double-click a device to see what it shares, if you can.

To find more devices, make sure your network settings are right. Go to System Preferences > Sharing. Make sure “File Sharing” is on. This lets your Mac show up on other networks and lets you see theirs.
Step 2: Terminal Command Implementation
If you like using commands, Terminal on a Mac is great. It has tools for finding networks, just like Windows but for macOS.
The ping command checks if a device is online. Just type ping [IP address] or ping [hostname]. It shows if a computer is reachable.
The arp command shows who’s talked to your Mac recently. It lists IP and MAC addresses. Type arp -a to see all devices on your network.
“Terminal commands give you detailed control over finding networks. They offer more than what you can see on the screen.”
These macOS methods work well with Windows ways to find devices. Finder is easy to use, and Terminal is powerful. Together, they make macOS great for managing networks.
Linux Network Scanning and Discovery Methods
Linux systems have many ways to find devices on a network. They use strong command-line tools and easy-to-use graphical interfaces. This helps with fixing network problems or understanding your network layout.
Many Linux distributions have the tools you need right out of the box. You can also add more tools easily using package managers. This makes Linux great for both simple and complex network tasks.
Step 1: Command Line Tools and Utilities
The terminal is the best way to find devices on a Linux network. Command-line tools give you detailed info about devices on your network.
nmap is a top tool for exploring networks. It finds devices and checks their security. A simple command shows all active hosts:
nmap -sn 192.168.1.0/24
This command does a ping sweep of the subnet. It lists all devices that respond without scanning ports. For more info, you can use nmap with other tools.
The ifconfig command shows your network settings. Modern Linux uses the ip command instead:
ip addr show
These tools help you know your network before scanning others. Tools like arp-scan find devices using ARP protocol.
Step 2: Graphical Interface Approaches
For those who like to see things visually, Linux desktops have network tools. These GUI tools are easy to use and different from command-line tools.
File managers in GNOME or KDE show network devices. In Ubuntu, go to “Other Locations” in Files to see network shares and devices.
There are also special graphical network scanners in Linux repositories:
- Angry IP Scanner (also available in GUI version)
- Zenmap (the graphical interface for nmap)
- Wireshark for advanced packet analysis
These apps show scan results in easy-to-read interfaces. They also let you save results for later. They’re good for people moving from other operating systems.
| Tool Type | Primary Use | Learning Curve | Installation Method |
|---|---|---|---|
| Command Line | Advanced scanning | Steep | Pre-installed/package manager |
| Graphical Interface | Basic discovery | Gentle | Package manager |
| Dedicated GUI Apps | Comprehensive analysis | Moderate | Package manager/download |
The table shows the differences in Linux network discovery methods. It helps you pick the right one for your skill level and needs. Most modern Linux distributions support both methods.
Keep in mind, you might need special permissions to discover networks. Some scans, like those with nmap, need root access with sudo.
Third-Party Tools and Advanced Solutions
Network administrators looking for better discovery tools find third-party IP scanner software more effective than built-in OS tools. These tools offer deeper insights, scan faster, and provide detailed reports on network devices.
Angry IP Scanner: Powerful Network Scanner
Angry IP Scanner is a strong, open-source tool for scanning IP ranges. It finds active devices quickly. It gives detailed info on hosts, like hostname, MAC address, and open ports.
This software supports many scanning methods and can export data in different formats. Its design allows for customisation with Java plugins. Many see it as key for comprehensive network analysis and fixing issues.
Advanced IP Scanner: Easy Network Scanning
Advanced IP Scanner makes scanning networks easy with its simple interface. It quickly finds devices and lets you access shared folders, control devices remotely, and shut them down.
You don’t need to install it, making it great for fast network checks. Its design is easy to use, even for those not tech-savvy.
| Feature | Angry IP Scanner | Advanced IP Scanner |
|---|---|---|
| License Type | Open Source | Freeware |
| Installation Required | No | No |
| Export Formats | CSV, TXT, XML | HTML, CSV |
| Remote Access Features | Limited | RDP, Radmin |
| Customisation Options | Extensive via plugins | Basic settings |

Router Administration Interface Utilisation
Checking your router’s web interface gives the most detailed list of connected devices. It shows all active devices on your network, even those not found in standard scans.
To get into your router’s admin interface, do the following:
- Find your router’s IP address (usually 192.168.1.1 or 192.168.0.1)
- Enter this address in your web browser’s address bar
- Log in with your router’s login details
- Go to the section for connected devices
This method gives you a clear view of your network’s devices. Routers might call this section different names, like “Attached Devices” or “DHCP Client List.”
Checking your router’s admin interface often is key to keeping your network safe. It helps spot unknown devices. This is a must for both home and business networks.
Conclusion
Working with networks requires both technical skills and smart setup. This guide has shown you how to find a computer on a network. You’ve learned about easy-to-use tools and more complex ones.
Key points include setting your network to Private on Windows. On macOS, use File Explorer or Terminal. For Linux, command-line scanners are best. Tools like Angry IP Scanner or Advanced IP Scanner make things easier.
Knowing these tips helps you manage your network better. It also makes fixing network problems easier. With practice, you’ll keep your network tidy and easy to use.
FAQ
What is the difference between a Private and Public network profile in Windows?
A Private network profile is for trusted networks like home or office. It lets you discover devices, share files, and printers. A Public profile is for untrusted networks, like public Wi-Fi. It limits these features to keep your device safe by making it less visible.
How can I change my network profile to Private in Windows 11?
To switch to Private in Windows 11, open Settings. Go to Network & Internet. Choose your network (Wi-Fi or Ethernet). Under Network profile type, pick Private. This makes your device discoverable by others on the network.
Why can’t I see other computers in File Explorer on my Windows PC?
If you can’t see other computers in File Explorer, check your network profile. Make sure it’s set to Private. Also, network discovery should be on, and your firewall must allow it. Ensure all devices are on the same network and sharing permissions are correct.
What command-line tools can I use in Windows to find devices on my network?
In Windows, use Command Prompt tools like `ipconfig` to find your IP address. `ping` tests connection to another device. `arp -a` lists devices on your local subnet. PowerShell offers scripting for more advanced discovery.
How do I find computers on a network using macOS?
On macOS, use the Network browser in Finder to find other computers and shared devices. Or, open Terminal and use `ping` or `arp` for diagnostics and discovery, like in Windows.
What are some effective tools for network discovery on Linux?
Linux users can use `nmap` for network exploration and security checks. `arp-scan` and `ip` commands list devices on the local network. Desktop environments like GNOME or KDE have network browsers or scanner tools.
Are there third-party applications that can help with network discovery?
Yes, tools like Angry IP Scanner (free and open-source) scan IP ranges and show device details. Advanced IP Scanner has a user-friendly interface for quick access to shared folders. Your router’s web interface also lists all connected devices.
What hardware is essential for a functional local network?
For a local network, you need a router to manage traffic, a modem for internet, and cables or wireless adapters for connection. These work together for a stable network for sharing and collaboration.
Can I use network discovery on a Public network profile for security reasons?
No, it’s not safe to use network discovery on a Public profile. It could risk your device’s security. Public profiles limit visibility and sharing to protect your data on untrusted networks.
How does enabling network discovery benefit resource sharing?
Enabling network discovery lets devices see each other, making it easy to access shared files, printers, and resources. It’s key for teamwork and makes managing network assets simpler.
 By
By