Managing many devices in different places is tough for IT experts. Old ways take up too much time and resources. These could be used for more important tasks.
Now, remote computer reimaging changes the game. It lets admins send new system images to all devices from one spot.
This detailed network deployment guide shows you how to do it. You’ll learn to make things faster and keep all devices the same.
Getting good at this is key for IT pros. It’s essential for handling today’s complex computing setups well.
Understanding Network Reimaging and Its Benefits
Modern IT environments need efficient ways to manage many computers in different places. Network reimaging is a smart way to deploy systems, overcoming old challenges.
This method changes how we keep our computer systems in top shape. It’s a quick fix compared to setting up each computer manually.
What is Network-Based Reimaging?
Network-based reimaging is a big change in how we set up computers. It sends a standard operating system image from a central server to computers over the network.
This method doesn’t need physical media like USB drives or DVDs. Computers get their system images directly from the network.
PXE (Preboot Execution Environment) boot is key to this method. It lets computers boot from the network instead of their own storage.
“Network deployment transforms IT management from reactive maintenance to proactive system control.”
The PXE boot benefits include working well with modern hardware and needing less physical setup. This tech is the base for automated system deployment.
Advantages of Remote Deployment
Remote deployment through network reimaging brings big benefits to all kinds of organisations. It’s very helpful for managing computers in different places.
The main advantage is how it makes IT work more efficient. IT teams can set up systems on many machines at once, no matter where they are.
Here are some key benefits:
- It can deploy to hundreds of machines at once
- It works well for organisations spread out over different areas
- It ensures all systems are set up the same way
- It makes setting up systems much faster
- It needs less physical access
Centralised image management means every system is set up the same way. This keeps security strong and prevents systems from getting out of sync.
Automation is another big plus. Tools for remote deployment often let you schedule setups and wake up computers remotely. This means you can set up systems at night without interrupting work.
| Deployment Method | Time per Machine | Physical Presence Required | Consistency Level |
|---|---|---|---|
| Manual Installation | 60-90 minutes | Yes | Variable |
| Network Reimaging | 15-30 minutes | No | Perfect |
| Hybrid Approach | 30-45 minutes | Sometimes | High |
Automation can even lead to “zero-touch” deployments. This means systems can set themselves up without any human help. It cuts down on IT work and makes deployments more reliable.
Another big plus is less downtime. Network reimaging is usually faster than manual setups, so users can get back to work sooner. You can also schedule setups for off-peak hours to avoid disrupting work.
Prerequisites for Successful Remote Reimaging
Before starting any network-based reimaging, it’s vital to prepare well. Knowing what you need and how to set it up ensures a smooth process. This way, your organisation’s work flow won’t be disrupted.
Hardware and Software Requirements
Having the right infrastructure is key for successful remote reimaging. Both the server and client systems need to meet certain criteria. This is to support deployment services and network booting.
Server Setup: Windows Deployment Services (WDS)
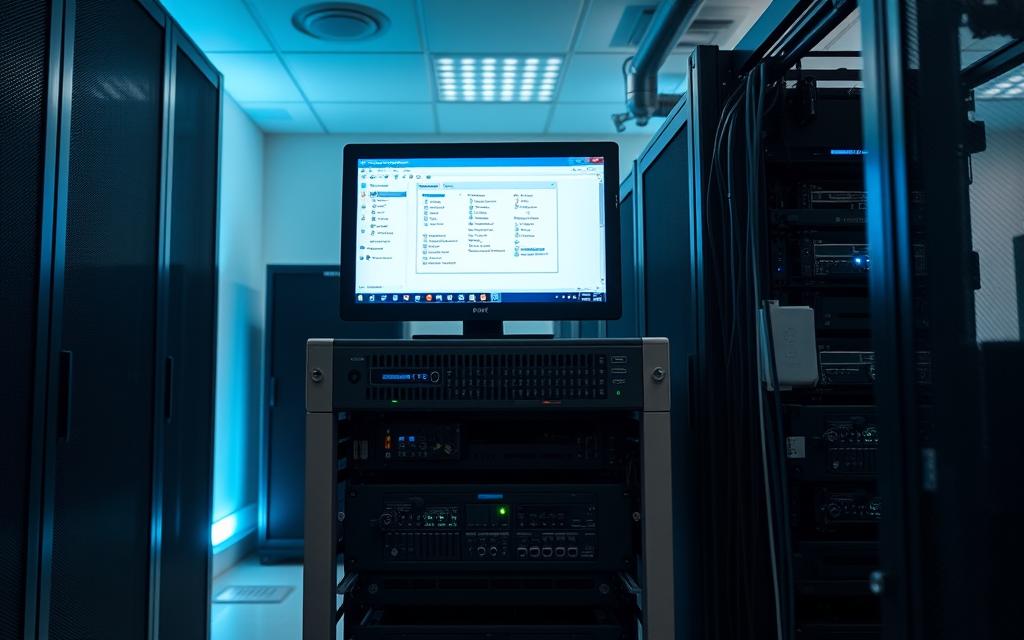
To set up Windows Deployment Services, you need a dedicated server. It should run Windows Server 2008 or later. The server also needs enough storage for images and memory for handling many clients at once.
Important setup components include:
- Active Directory Domain Services integration
- DHCP server functionality
- NTFS file system for image storage
- Administrative privileges for service management
Creating a reference computer is a key step. This can be physical or virtual. It should match your organisation’s standard setup. From this, you’ll create a hardware-independent .WIM file.

Client systems need network interface cards with PXE support. This lets them boot from the network instead of local storage.
Make sure client hardware meets these requirements:
- PXE-enabled network adapter
- Sufficient RAM for network boot operations
- UEFI or legacy BIOS support for network booting
- Physical network connection to deployment server
Collect necessary driver packs before starting. These drivers are important for hardware compatibility across different models in your organisation.
Network Configuration and Security Considerations
Setting up your network right is key for reliable communication between servers and clients. Security is also important to protect your deployment environment from unauthorised access.
DHCP needs specific options for PXE booting:
- Option 66: Boot Server Host Name
- Option 67: Bootfile Name
- Proper IP address scope for client systems
Security includes network segmentation for deployment traffic and firewall rules. These allow necessary communication between clients and servers. Always use secure protocols when transferring images.
Authentication is important to verify client and server identities during deployment. This prevents unauthorised access to your deployment images or network.
How to Reimage a Computer Over the Network
Reimaging a computer over the network involves three main steps. This guide will help you set up your deployment server, get your client devices ready, and manage the deployment process.
Step 1: Configuring the Deployment Server
Your deployment server is key for sending operating system images across your network. It needs to be set up right for reliable and efficient deployments.
Installing and Setting Up Windows Deployment Services
Start by adding the Windows Deployment Services role through Server Manager. This step is essential for network-based OS installations.
After adding the role, use the Windows Deployment Services configuration wizard to set up your server. Make sure to check your PXE server initial settings. These settings are important for how client computers connect to your deployment environment.
Adding Boot and Install Images
First, add your boot images. These images are the first thing client computers see. You’ll usually use Windows PE boot images that work with both legacy BIOS and UEFI systems.
Then, add your install images. These images have the actual operating system you want to install. Organise your images well in the WDS console. Use clear names to identify different versions or configurations.
Step 2: Preparing the Client for Reimaging
Getting your client computers ready is important. They need to connect to your deployment server and start the reimaging process.
Network Boot via PXE
PXE lets computers boot from the network instead of their local storage. This is the basis of network-based reimaging.
When set up right, clients will try to network boot first. This makes deploying to many devices easier.
BIOS/UEFI Settings Adjustment
Go into your client computer’s firmware settings at startup. Make network boot the first option. This ensures devices try to connect to your server first.
Save your changes and exit the firmware settings. The computer will then try to connect to your deployment server when it restarts.
Step 3: Executing the Reimaging Process
The last step is to pick the right images and watch the deployment. This ensures it goes smoothly.
Selecting the Image and Initiating Deployment
When clients connect via PXE, they’ll see available boot images. Choose the right image for your client’s hardware and needs.
The Windows PE environment will load, showing deployment options. Pick your install image and any custom settings. For automated deployments, you might need to configure answer file settings for installation parameters.
Monitoring the Installation
Watching the installation closely helps catch and fix problems quickly. The Windows Deployment Services console shows real-time updates for connected clients.
To keep track of the network installation progress, look for completion signs and error messages. Deployments usually follow a pattern: image transfer, installation, and final setup.
For big organisations with lots of devices, consider using tools like SmartDeploy. They make managing large deployments easier.
| Deployment Phase | Key Actions | Expected Duration |
|---|---|---|
| Server Configuration | Install WDS, add images | 30-60 minutes |
| Client Preparation | Enable PXE boot in BIOS/UEFI | 5-10 minutes per device |
| Image Deployment | Transfer and install OS image | 20-40 minutes |
Getting network reimaging right takes careful planning at every step. Proper preparation cuts down on mistakes and ensures consistent results for all devices in your organisation.
Alternative Tools and Methods for Remote Reimaging
Windows Deployment Services is a good start for network reimaging. But, many other tools offer more for different needs. They make complex tasks easier and add features not found in basic imaging.

Using Microsoft Deployment Toolkit (MDT)
The Microsoft Deployment Toolkit is a big step up from WDS. It’s free and works well with Microsoft systems. It also has advanced automation features.
MDT lets admins create detailed task sequences. These can include driver updates, app installs, and system setups for specific needs.
“MDT turns simple imaging into a full, automated process. It works well in many environments with little help from admins.”
MDT is free and works well with Active Directory. It also lets you create media for offline use. This is useful for systems that can’t connect at first.
Third-Party Solutions: Symantec Ghost and Others
Commercial tools offer extra features for big deployments. They often work better with different hardware and are easier to manage than Windows tools.
Symantec Ghost has been a leader in disk imaging for years. It’s reliable with many hardware types. New versions support multicast and cloud use.
SmartDeploy is a new way to image devices. It automatically finds and uses the right drivers. This means you don’t need many images for different hardware.
Specops Deploy is great for those using Specops products. It has a web console for easy deployment over the internet, without VPNs.
| Solution | Deployment Method | Key Feature | Best For |
|---|---|---|---|
| Microsoft MDT | Network-based | Custom task sequences | Microsoft-centric environments |
| Symantec Ghost | Multicast/Unicast | Hardware-agnostic imaging | Mixed hardware fleets |
| SmartDeploy | Single image approach | Automatic driver matching | Rapid deployment scenarios |
| Specops Deploy | Internet-based | Web management console | Remote workforce management |
Each tool has its own strengths for different needs. It’s important to think about your specific needs, current setup, and skills when choosing a tool.
Conclusion
Network-based reimaging changes how we manage computers. It makes it easy to set up the same system on many devices. This way, everything works the same, and mistakes are fewer.
Using these methods is key for setting up systems automatically. It helps IT teams work better by saving time and effort. Tools like Microsoft Deployment Toolkit and Symantec Ghost make it easier for everyone.
Starting with remote reimaging gets your systems ready for the future. It’s a basic skill for IT experts. It helps keep your systems running smoothly and efficiently.


